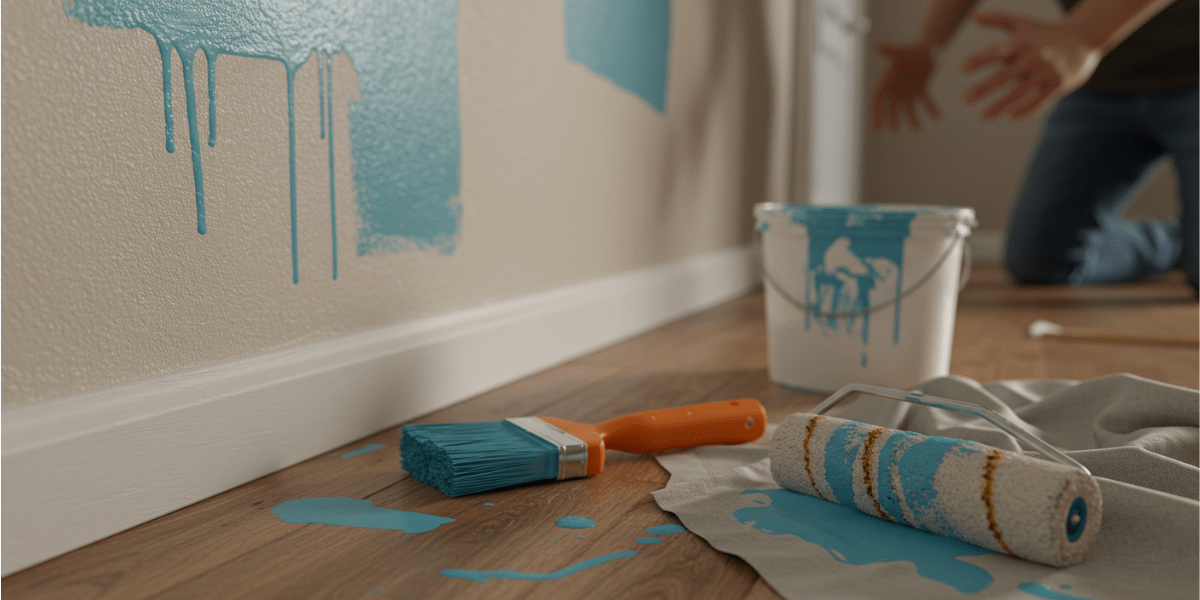
A beautifully painted interior triples your home’s appeal. Yet common indoor painting mistakes often ruin results; think peeling, patchy coverage, or uneven tone. As you explore interior painting tips for homeowners, you will learn that knowing pitfalls helps you avoid them. It doesn’t matter if you are tackling it yourself or hiring the best painters, use this guide to ensure a professional finish every time.
Rushing Surface Preparation

Many overlook prep and dive into painting. Without cleaning, sanding, and filling cracks, paint won’t adhere properly. Skimping here leads to poor results. Effective professional interior painting advice stresses investing in surface readiness, wipe away dust, smooth rough patches, then sand before priming. This ensures colour consistency, fewer bubbles, and keeps your paint job durable.
Skipping Primer On Bare Areas
Painting over bare plaster or patched spots without primer invites peeling. This is a key tip in interior painting. A tinted primer ensures uniform absorption and avoids a patchy sheen. It also helps reduce the number of topcoats needed. Taking time here prevents patchiness and protects against the peeling of indoor paint.
Using Cheap Paint For Extra Coats
Low-grade paint hides flaws only temporarily. Even savvy homeowners asking how to make the paint adhere end up scraping. Investing in high-quality paint ensures finish retention and easier cleaning. Economical brands often lack polymer binders, making them dull sooner. Spending a little more upfront reduces future work. Premium products help prevent issues like colour fading or uneven gloss. It’s a smart long-term choice.
Incorrect Choice Of Brush Or Roller
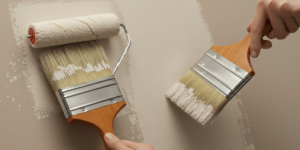
Wrong tools can destroy your effort. Cheap rollers shed fluff; improper brush types leave visible strokes. Reliable advice from a professional insists on microfiber rollers for smooth walls and angled sash brushes for neat edges. Choose nap length by finish: smooth for gloss, thicker for texture. This prep step ensures crisp lines and uniform coverage. It’s an easy fix that dramatically improves quality.
Painting In Inappropriate Conditions
Indoor humidity or drafts can affect results. Painting on overly hot or cold days interferes with drying time, causing cracking or bubbling. Follow interior painting tips for homeowners: paint at room temperature (15–25 °C), ventilate gently, and avoid direct fan air. The resulting finish is smoother and more durable. Patience here saves you from unsightly failures.
Applying Paint Too Thickly
Slathering on paint seems efficient, but it leads to sagging, runs, and time wasted sanding. Instead, apply thin layers, let them dry fully, and then repeat. This technique improves adhesion and reduces drips. One coat with perfect coverage beats three messy ones. If you’re wondering how to avoid indoor paint from peeling, use two light coats for optimal longevity. It’s a hallmark of professional painting techniques.
Neglecting Edges And Trim
Walls often look messy along the edges because blur occurs at cut lines. DIY interior painting errors include quickly tunnelling without “pulling in” edges. Use quality tape and paint trim first, then the walls, while the paint is still wet. This neat trick ensures clean lines. Skilled painters leverage this method for inside-house painting. It’s simple, effective, and lifts the finish to a professional grade.
Disregarding Drying Times
Impatience leads to dragging floors inside wet walls or recoating too soon. Fully dry each coat before moving on. Quick-dry products don’t cure instantly. Disregarding drying time risks bubbling, streaks, and tacky finishes. Avoid this by observing the manufacturer’s instructions—perfectly cured paint resists stains and scratches. It’s important for homeowners to remember that maintaining patience between layers is key to achieving clean and durable results in interior painting.
Failing To Clean Up Properly
Post-paint cleanup matters. Leaving brushes caked in paint ruins usable tools. Paint on floors or skirting boards is also hard to remove later. Wash brushes and rollers using warm, soapy water while they are still damp. Label leftover paint for future touch-ups. Wrap tape carefully to protect the trim. This final detail completes the job. Proper cleanup is part of professional interior painting and keeps your indoor paint lasting longer.
Ignoring Maintenance After Painting
A long-lasting paint job needs ongoing care. Wipe walls gently, avoid chemical cleaners, and touch up chips early. Regular inspections, especially in high-traffic zones, preserve the finish. Develop a simple upkeep schedule and quickly re-tape touch-up areas before discolouration. This maintenance helps avoid indoor paint peeling. Small fixes save full repaint efforts. Savvy homeowners follow this advice to make paint last years longer.
Choosing The Wrong Colour for The Room
Many homeowners overlook how lighting affects paint colour. A shade that looks great on a swatch may feel too dark or cold once applied. One lesser-known issue is not testing samples on different walls under natural and artificial light. Professionals offering inside-house painting services like Luxury Design Painting often recommend painting swatches on all four walls and viewing them at different times of the day. This approach ensures you get the mood, tone, and finish that complements your décor.
Forgetting To Protect Floors And Furniture
Paint spills and dust can cause permanent damage if you skip proper protection. Use drop cloths, painter’s tape, and plastic sheeting to safeguard floors, skirting boards, and valuables. This is a vital interior painting tip for homeowners that avoids costly cleanups. Rushing into painting without prepping the room is among the most frequent DIY painting errors. Luxury Design Painting always starts with a protection-first approach, one that ensures your home remains spotless while your walls get refreshed with a flawless new coat.
Not Hiring Experienced Professionals
While DIY may seem cost-effective, many fall into DIY interior painting errors due to poor prep or rushed application. Hiring professional painters ensures precision in preparation, tool use, timing, and finishing. Professionals apply professional interior painting techniques consistently, saving you time and frustration. For flawless outcomes, consider engaging experienced teams; their skill assures a beautifully finished space every time.
FAQS
1. What are the most common indoor painting mistakes?
Some of the most common painting mistakes include skipping surface prep, applying paint too thickly, using the wrong tools, and ignoring drying times. These errors can lead to uneven finishes, peeling, and premature wear. Hiring professional painters can help avoid these costly issues.
2. Can I fix DIY painting errors?
Yes, many DIY painting errors are fixable. You may need to sand the surface, re-prime, or reapply coats correctly. For a more flawless result, it’s wise to consult an expert in house painting services like those offered by Luxury Design Painting.
3. What Are Some Pro Interior Painting Tips?
Key interior painting tips include using quality brushes, choosing the right finish for each room, painting in proper lighting, and prepping surfaces carefully. Always follow manufacturer instructions on drying times between coats for lasting results.
Final Word
Avoiding common painting mistakes requires attention to prep, tools, and process. Following painting tips for homeowners, such as using primer, appropriate equipment, patience, and maintenance, ensures a pristine, durable finish. Regardless of whether you plan on DIY or hiring painters in Sydney, applying professional interior painting advice transforms your space. Invest in quality and care, and your indoor paint will stay vibrant and chip-free for years.
